Sunday, July 17, 2016

I Miss You Really Shakey!

Hello,

It's time for the next set of DT Insight at Indian Craft Room.... for ICRCMON01!

http://indianstampers.ning.com/group/icrchallenges/forum/topics/icrcmon01-second-round-of-inspiration-for-july-coasteride

So here is mine....

Shaker

Inspired by ....


Freshly Made Sketches....
Color Throwdown.....


 photo ThePrepNew_zps5a3ccce1.jpg

Fabriano CS in white for the base card....
Another layer of the same for the panel..... on which I die cut the shaker window....
On the card base adhered d negative for the shaker window along with a pink color DP for the BG...
I then added some pieces of foam type alongside the window & paneled the shaker window layer above it after adding some awesome sequins I so loved by Sudha from Crazy Crafter Online Craft Supplies Store.... (((Hugs)))

Shaker

On the layer that was paneled I dry embossed it for BG with....
  • Cuttlebug border embossing folder
  • Cuttlebug Moroccan Screen embossing folder
And to finish it I adhered another thin piece of DP with a baker twine above it tied into a small bow...

Beneath the shaker window I just pasted yet another piece of DP for my sentiment which was stamped with versa color ink in magenta from Close To My Heart.... 
Shaker

That is all about this project.... Hope to have u join us at ICRCMON01!

UNTIL NEXT, KEEP THE FAITH!!!

 photo Signaturenew_zps6434c4a9.jpg

Tuesday, July 5, 2016

Shake & Set ur Soul Free!!!

Hello,

It's July & time for another CoasteRide ICRCMON01.... It's gonna be a Shaker month on ICR with the CoasteRide associating with the monthly swop.... ICRSC for July...


http://indianstampers.ning.com/group/icrchallenges/forum/topics/icrcmon01-shaker-cards-3-pattern-papers

And here is my DT Insight to it.....

Shaker

And was inspired by 

MFT Sketch Challenge....
Color Throwdown Challenge....

 photo ThePrepNew_zps5a3ccce1.jpg

And for the month of July Crazy Crafter - Online Craft Supplies Store generously sponsored beautiful packs of sequins to the ICR DT & all were extremely excited to work with them....

Talking abt me personally I am not a glittery person.... I love things simple & elegant where the entity needs no extra shimmer but can stand out all by itself.... & never used sequins ever on my crafts... But thankfully this time around I had the opportunity to work with these sequins given away by my dear friend Sudha Kalra .... And Whoa I so loved everything about them.... The colors shapes & feel.... It convinced me much tht I cud do much with these cute shimmers.... Thank You Sudha!

And below is how I worked with my project....


  • Used the Gift Tag with pouch Die from Memory Box.... After I cut the image out I did not fold the scores for the pouch... I just left it as it was to just work over it....
  • I then used an Itsy Bitsy Die I had picked up long back.... which was finally used now... I used it on few color CSs & few DPs.... & just kinda tried to match them arnd to bring out the best combination.... 
  • Used the negatives to layer on the gift tag by adhering it over... I then adhered foam tape in thin strands to give the tag the required bulge to hold the sequins & to avoid them sneaking through for a spill out.... 
  •  On the other negative of the cage DIE from Itsy Bitsy over a DP I adhered down a piece of acetate for the peek window...
  • Added a small amount of those beautiful colorful sequins into the layered palette & removed the defensive layer over the foam tape & eye balling well adhered it down with a lil fevicol....
  • Now my shaker tag was ready.... I loved the outcome & the process was all fun to achieve it... 
Shaker 

Isn't that a wonderful looking interactive gift tag? Keep shaking it for as long as u please.... :D

Shaker 

 However did not wanna stop there as I wanted to create few more tags... hence just adhered that tag on to a Chocolate CS from Fabriano.... layered with a piece of chevron designed DP to make my card....

 And completed the entire project with another Die used from the same set of Itsy Bitsy Cage Die's.... ran it over another plain DP & used it as an embellishment with a lil doodling around.... AND a mindmade sentiment of my own.... Making it lye on the cage die cut which was the positive of the cage die ran over a Christmas red CS from Fabriano....

Shaker

Above is a peek of the caged window to the beautiful sequins.... 

Do hop over to ICR to play with our CoasteRide this month on ICRCMON01 & the monthly swop ICRSC for July..... 

And there is the new ATC Swop that has been kick started too.... Happy Crafting & Trading!!! 

UNTIL NEXT, KEEP THE FAITH!!!
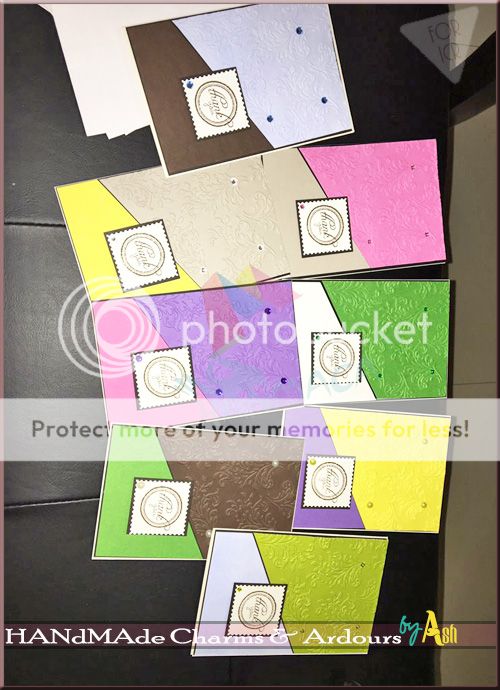
 photo Signaturenew_zps6434c4a9.jpg

Thursday, June 30, 2016

Set Of 8 Thank You's!

Hello,

Posting in a jiffy :-/

It was time I posted my June ICRSwop.... Both received as well as made to be posted to the receiving partner....

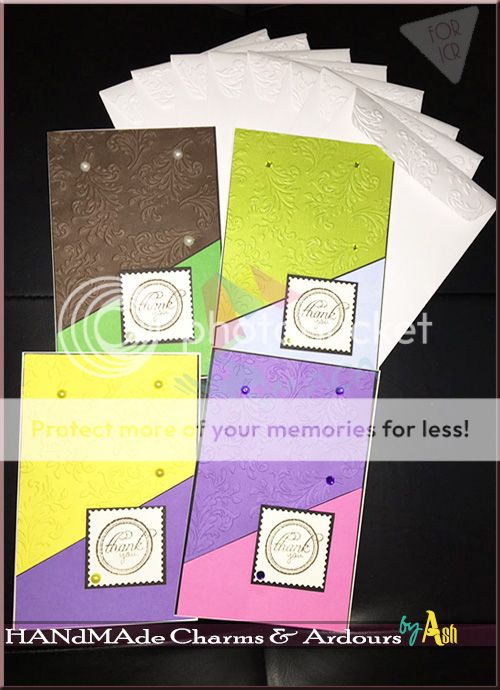
And June Swop was all about Creating a Set of Eight Thank You Cards; All designed same but in eight different colors, with coordinating envelopes for the same...

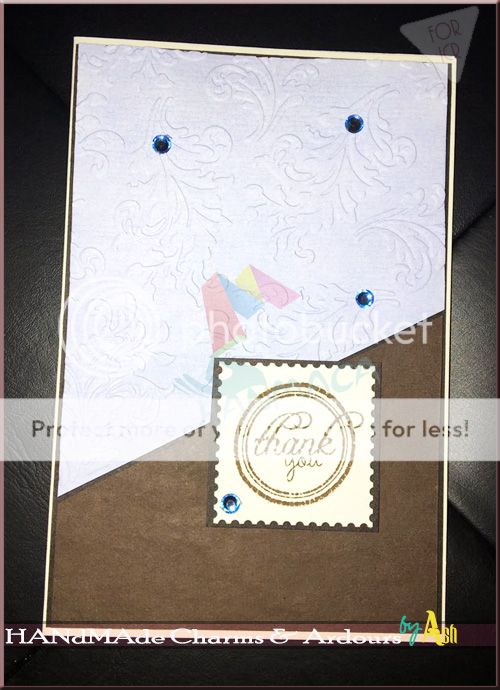
So to begin with here is what I made.... My Set of Thank You's!

Set ThankU's

And I was inspired by

Sunday Stamps with Colors....
Stamplorations June Challenge with the Theme & Sketch....

Set ThankU's

The card above was the first I made, thru which I made derivations for further deviations....

 photo ThePrepNew_zps5a3ccce1.jpg 

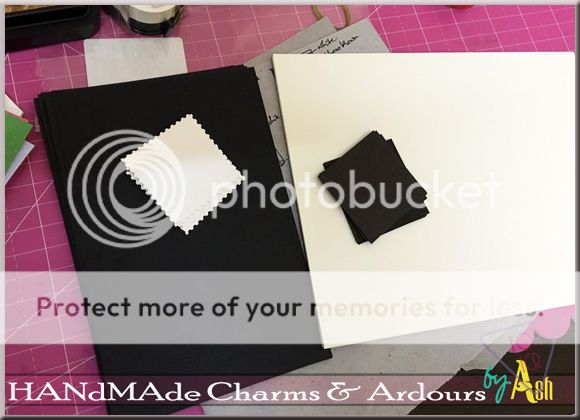
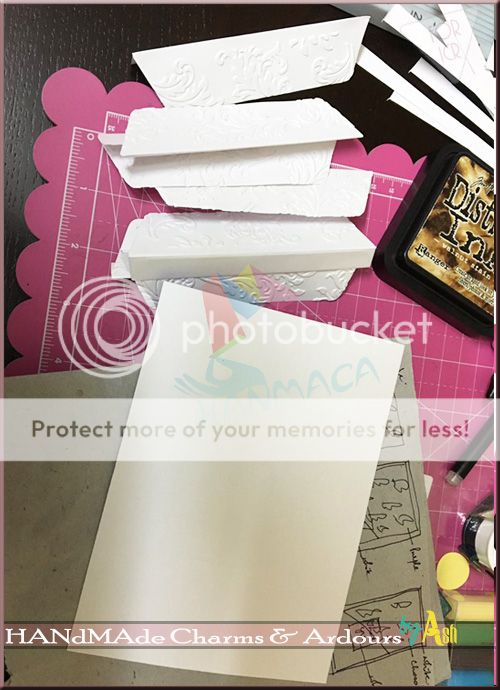
Few parts in pieces awaiting to be put together.....

 Set ThankU's

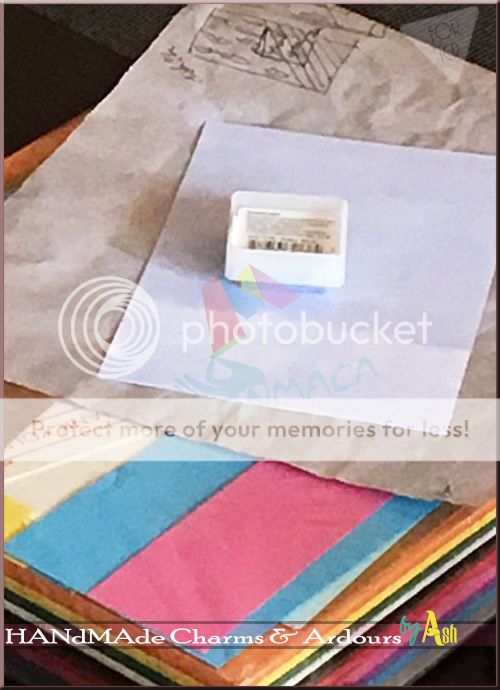
 Set of card stocks scored & creased for the card base....

I cut the layering panels in all different colors possibly I cud find in my available stash .... And for the one color I cud not find, I decided on making it myself....
Set ThankU's

  • I burnished the ink pad on the layering panel CS a few number of times to get the color I wanted... 
  • After which like on all the other colors, I ran it through the cuttlebug with the leaves embossing folder from Itsy Bitsy hat I had picked up long back.... Finally its used!
  • Before embossing I cut the panels in the shape I wanted & saved the plain pieces aside
So here are all the parts set & kept aside.... to be consolidated with the colors & designs, respectively...

Set ThankU's
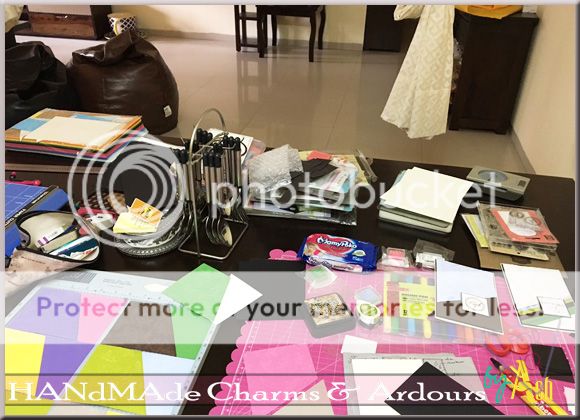
 {yeah... :P The new dining table is my crafting table for now until my craft room is all set for me to work in.... Family can eat elsewhere, but i cant work elsewhere... ;)} 

I now had to put them together in the combinations that seemed appealing to my eyes then... which means I love few of the combos whereas few more just seem fine....

Set ThankU's

This card above is the color CS I made & I combined it with dark chocolate.... which is just fine!

Set ThankU's

This is my favorite combo of all.... So pleasingly cute!
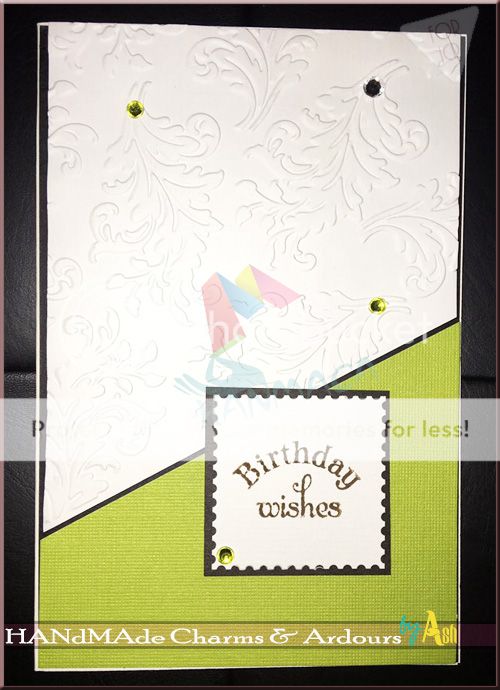
Stamped with a different sentiment... Ready to wish a birthday for someone sooner.... :)

Now I had to make the coordinating envelopes for the same.... I did not have my envelope stash here with me & had to run to landmark to get some.... But my bad! There were none... However I picked up these lengthy policy envelopes for my perusal..... 


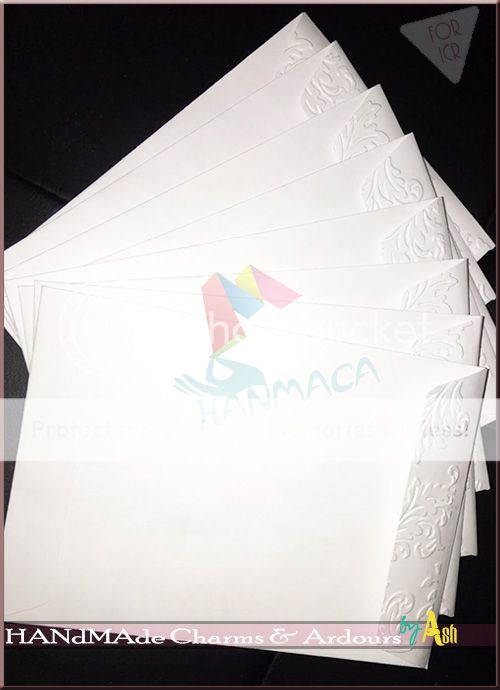
I down sized them to fit my cards in.... Further cut down the parts of the flaps & ran it through the cuttle bug through the same embossing folder as I had to match them with the cards going inside.... The best I cud figure out was embossing the flaps & leaving them with a feel of blend.... 

Set ThankU's

And here is what they looked like when I put them together to get my final envelopes for the cards....

Set ThankU's

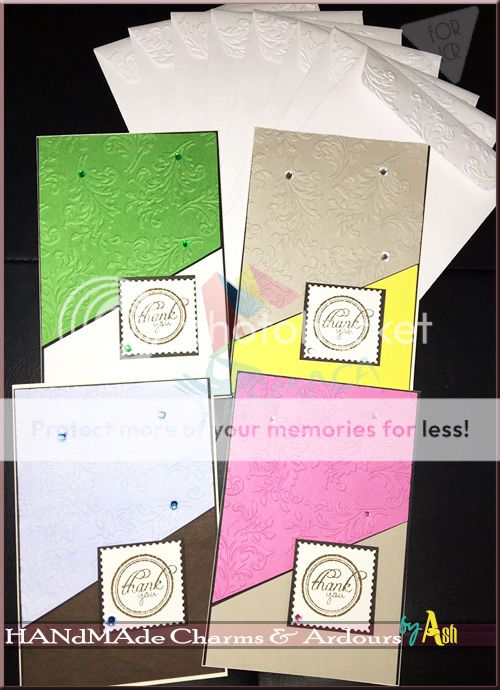
Below are the other combos for a glance...

Set ThankU's

Set ThankU's 

And here is the beautiful set of cards I received from my swopping partner..... Karthika!


Love the neat & crisp look & feel to the cards.... Thanks a bunch for your dedicated work....

There ends my lengthy well illustrated blog post for this swop project...

UNTIL NEXT, KEEP THE FAITH!!!
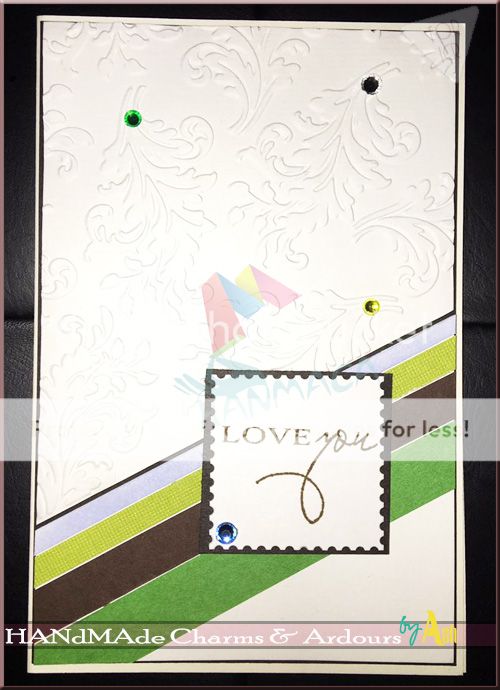
 photo Signaturenew_zps6434c4a9.jpg

You might also like:

Related Posts with Thumbnails